The image editing tools in Google Docs allow you to make some changes to a picture that you have added to your document. This is very handy when you know exactly what you want to do to a picture, but occasionally you will need to experiment with the different tools and options until you find the correct appearance.
Unfortunately it’s possible to make so many changes to a picture that it becomes difficult to undo them, which can mean the picture isn’t ideal for your current needs. Fortunately there is an option to reset a picture in Google Docs to its original state so that you can start from scratch and hopefully achieve the desired affect of the image.
How to Restore an Original Image in Google Docs
The steps in this article assume that you have added a picture to your Google Docs document, and performed some edits on it. Completing the steps below will undo the edits that you have performed in Google Docs and restore the picture to its default state when it was first added to the document.
Step 1: Sign into Google Drive and open the document containing the picture that you would like to reset.
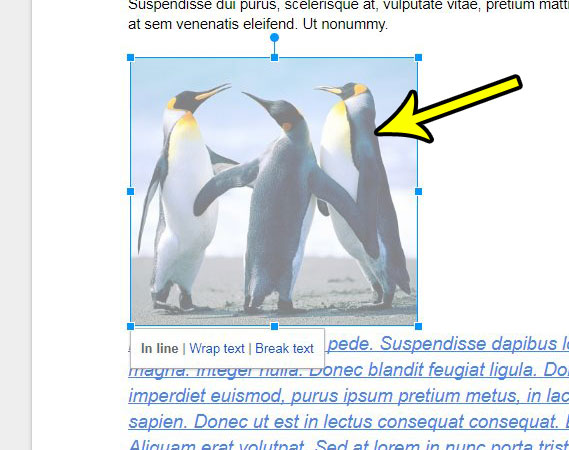
Step 2: Click on the picture to select it.

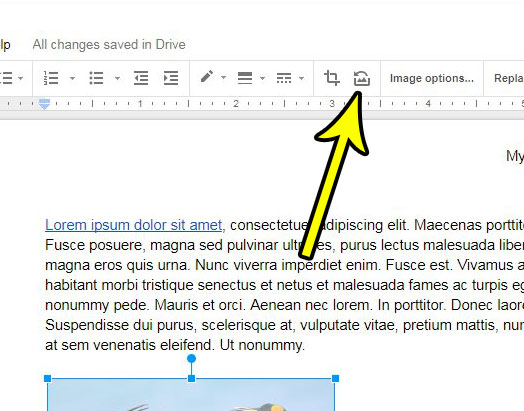
Step 3: Click the Reset image button in the toolbar above the document.

Would you like to be able to add a link to your document that someone can click to visit a website? Find out about adding a hyperlink in Google Docs so that anyone reading it can visit a Web page that you have specified.

Kermit Matthews is a freelance writer based in Philadelphia, Pennsylvania with more than a decade of experience writing technology guides. He has a Bachelor’s and Master’s degree in Computer Science and has spent much of his professional career in IT management.
He specializes in writing content about iPhones, Android devices, Microsoft Office, and many other popular applications and devices.