Text boxes have long been a part of Office applications like Microsoft Word, Excel, and Powerpoint and they have been included in Google’s versions of these applications as well. But if you are familiar with adding textboxes in Microsoft products, then doing so in Google Docs might be a bit of a change, because the methods are rather different.
The steps in this article will show you how to add a textbox to your Google Docs document. You can then add text to that text box, resize it, or change the manner in which the rest of the document content wraps around it.
A text box is a useful element of different word processing applications like Microsoft Word and Google Docs. They provide you with the ability to include information in the document without making that information part of the document body.
If you are already familiar with adding text boxes in Microsoft Word, then the Google Docs method is going to be a bit different. Our guide below will show you how to use the Google Docs drawing tool to add a text box to your document.
How to Add a Textbox in Google Docs
- Open your document.
- Choose where to add the textbox.
- Select the Insert tab.
- Click the Drawing option, then click New.
- Choose the Text Box button in the toolbar.
- Click and hold on the canvas, then drag your mouse to draw the text box.
- Type the text box content, then click Save & Close.
Our article continues below with additional information on adding a textbox in Google Docs, including pictures of these steps.
If you need to add an entire new page to your document, then our article on how to add a page on Google Docs can show you how to do it with a minimal amount of frustration.
How to Insert a Text Box in a Google Doc Document in Google Drive (Guide with Pictures)
The steps in this article were performed in the desktop version of Google Chrome, but will work in other browsers like Firefox or Edge.
Step 1: Sign into your Google Drive at https://drive.google.com and double-click the document where you want to add the text box.
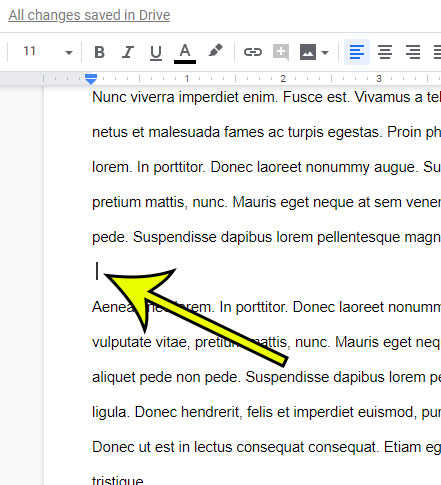
Step 2: Click at the point in the Google document where you want to add the text box.
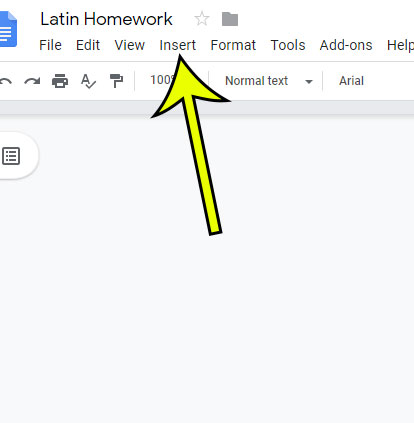
Step 3: Choose the Insert tab at the top of the window.
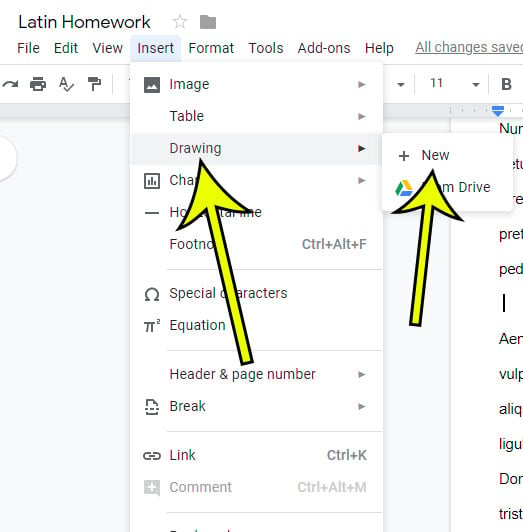
Step 4: Select the Drawing option, then click the New option.
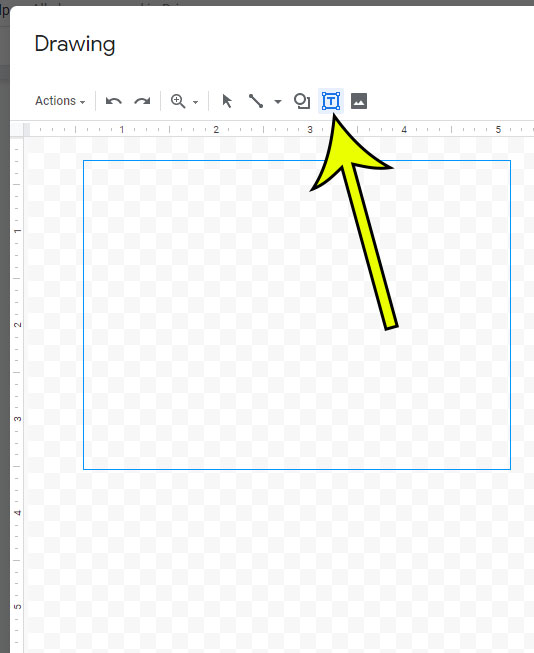
Step 5: Click the text box icon in the drawing tool menu bar, then click on the canvas and drag your mouse to draw the boundaries of the text box.
Step 6: Type your text box content into the text box, then adjust any of the formatting options that you wish to change.
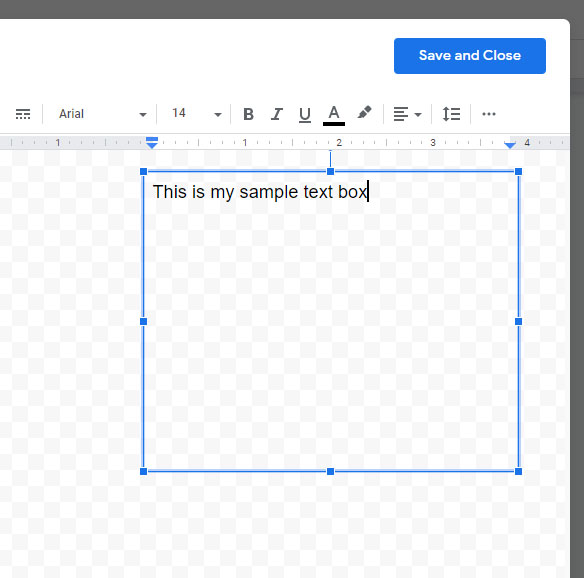
Step 7: Click the Save & Close button at the top-right of the drawing tool when you are finished.
Our article continues below with additional information on Google Docs textboxes.
How to Remove a Text Box in Google Docs
If you have added a text box in Google Docs and decide that the content would be better served as part of the document, then you may be wondering how to remove text boxes in Google Docs.
You can remove the box from the document by right clicking on it, then selecting the Delete option.
You can also click on it to select it, then press the Backspace or Delete key on your keyboard.
More Information on How to Add a Textbox in Google Docs
There are a number of formatting options available when you are in the drawing tool, including options like fill color, line color, font size, and more. However, these settings must be adjusted from the Drawing window, as you won’t be able to change them from the document body. Once you have made some changes you will need to click the Save and Close button again to apply those changes.
If you wish to adjust the text box font, simply click the drop-down menu that displays the current font above the drawing canvas, then select from any of the available options.
After you add text boxes to your document, you will see some new options available when you click on that text box. These options include items like In line, Wrap text, and Break text. Selecting one of those choices will change the way that the document content surrounding the text box adjusts to the addition of the text box object.
While the Insert > Drawing > New method provides a way for adding an actual text box object, another way that some people may choose to add a text box is a single cell table. The Insert table option can be found if you click Insert at the top of the window, select Table, then click the top left square to add a 1 x 1 table to the document.
Does your job or school require page numbering? Find out how to add page numbers in Google Docs using one of four different page numbering style options.
Additional Reading

Kermit Matthews is a freelance writer based in Philadelphia, Pennsylvania with more than a decade of experience writing technology guides. He has a Bachelor’s and Master’s degree in Computer Science and has spent much of his professional career in IT management.
He specializes in writing content about iPhones, Android devices, Microsoft Office, and many other popular applications and devices.