Your Microsoft Powerpoint presentation might contain a text box, or multiple text boxes, that you don’t need. However, you might be struggling to delete the text box, as many common deletion techniques will only remove the text inside of the text box, not the text box itself.
You can learn how to get rid of a text box in Powerpoint 2016 by finding the text box to remove, clicking on its border, then pressing Delete on your keyboard.
Adding text to a slide in Microsoft Powerpoint is typically accomplished with a text box. You may already know how to select the text in a text box and use options on the Home tab to apply formatting changes. But when you need to delete an entire text box, or add a new one, then you may be struggling to find the options that let you accomplish this.
Many of the Powerpoint templates that you use will likely include at least one text box or text placeholder somewhere. Whether it’s on the title slide or on one of the default layouts, text boxes are an important element of creating slides in Powerpoint.
But if you can’t find a layout template that suits your needs, or if you simply need to add another text box to your Powerpoint presentation, then you may be wondering how to do so.
Our guide below is going to show you how to add a text box in Powerpoint, as well as how to delete a text box in Powerpoint. With that knowledge in hand you should be able to customize your slides with the text that your presentations require.
How to Add or Delete Text Boxes in Powerpoint
- Open your presentation.
- Click on the text box border.
- Press Delete or Backspace on your keyboard.
Our article continues below with additional information to help you if you want to delete or add a text box in Microsoft Powerpoint, including pictures of these steps.
Find out how to make a square picture round if your slide calls for an image that isn’t just a rectangle or square.
How to Add a Text Box in Microsoft Powerpoint (Guide with Pictures)
The steps in this article were performed in Powerpoint for Office 365. However, these same steps will also work in many of the other versions of Powerpoint as well, such as Powerpoint 2010, Powerpoint 2013, and Powerpoint 2016.
Step 1: Open your Powerpoint presentation.
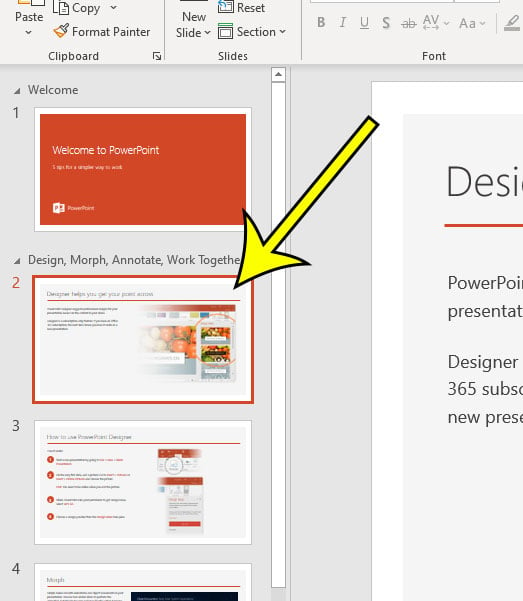
Step 2: Select the slide from the column at the left side of the window in which you wish to add the new text box.
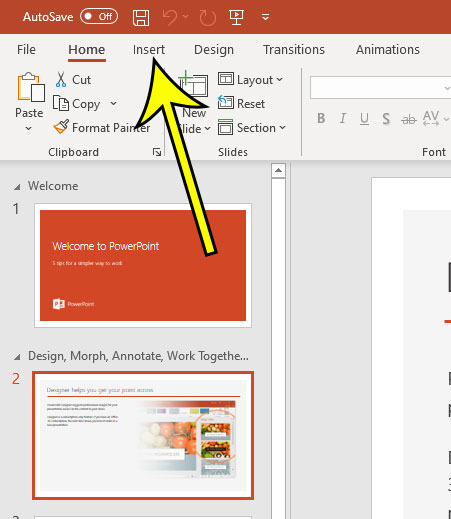
Step 3: Click the Insert tab at the top of the window.
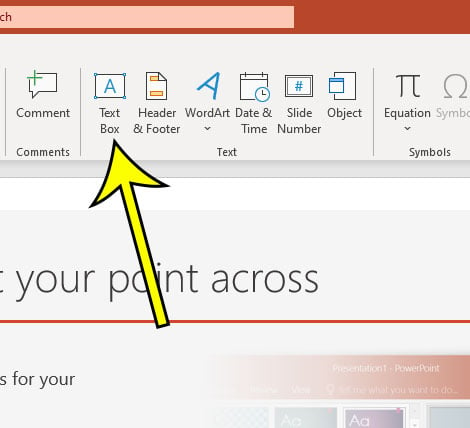
Step 4: Choose the Text Box button in the Text section of the ribbon.
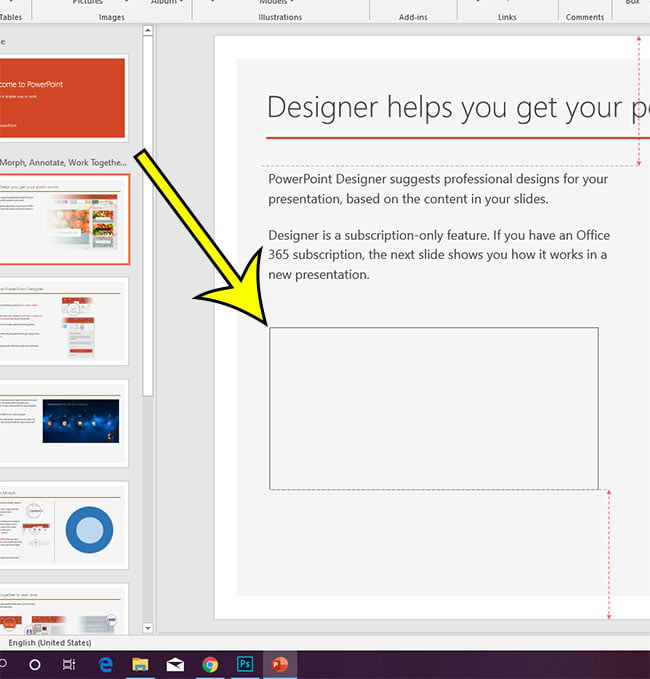
Step 5: Click and hold on the point in the slide where you wish to place the text box, then drag your mouse until it’s the correct size.
How to Adjust the Text Box in Powerpoint
Note that there are some symbols that appear around the text box. If you click one of the circles on the text box’s perimeter you can adjust the size of the box. If you click and drag on the circular arrow at the top of the text box you can rotate it.
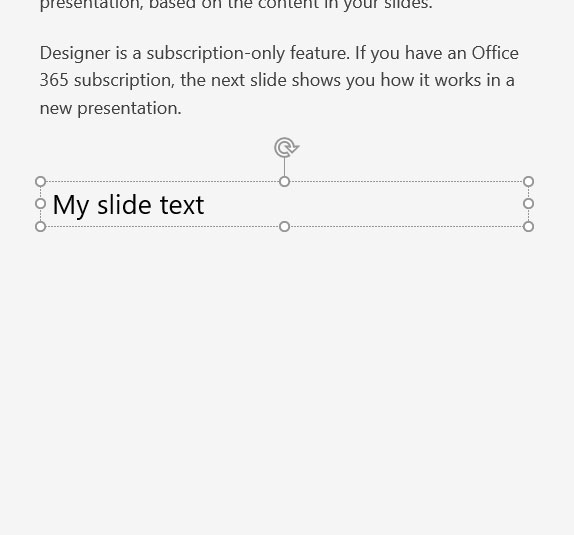
You can format text inside of the text box using any of the text formatting options found on the Home tab.
How to Delete a Text Box in Powerpoint 2016 (Guide with Pictures)
Now that you know how to add a text box in Microsoft Powerpoint, it’s also helpful to know how to remove a text box in Powerpoint. Since there isn’t actually a dedicated “Delete Text Box” option anywhere in Powerpoint, we can use one of two separate options to accomplish the task.
The first option that you can try is to click on one of the borders of the text box, which will select the entire object. Then simply press the Backspace key or the Delete key on your keyboard, and the text box should disappear.
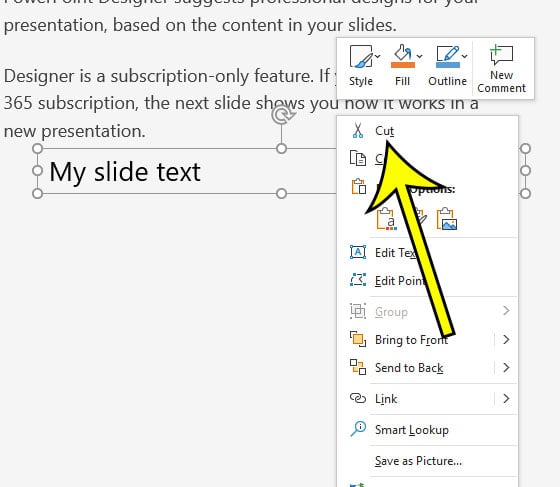
The second option for removing a text box in Powerpoint is to once again click on the text box border to select it, then right-click on the text box and choose the Cut option. While this isn’t technically deleting the text box, it serves a similar functional purpose.
If you are also working with slideshows in Google Slides, then you should check out this tutorial that shows you how to delete a slide from a presentation.
More Information on Text Boxes in Powerpoint
- Other Microsoft Office applications, such as Microsoft Word or Microsoft Excel, also have text boxes. They work in very similar ways to the text boxes that you would use in Powerpoint.
- The Google Slides application lets you work with text boxes, too. If you’re working in Google Slides but need to continue in Powerpoint, then this guide will show you how to download a Powerpoint copy of your file from Google Slides.
- When you are editing the text inside your text box, or when the text box is selected, there is a Shape Format tab at the top of the window. This tab includes options that let you change the style of the text box, as well as apply fill colors, outline colors, effects, and more. There is also an option to resize the text box at the right end of the ribbon if you would prefer to make that change numerically.
- You can also find the Cut option on the Home tab if you want to delete a text box using an option on the ribbon rather than a key on your keyboard.
- If you want to delete all of the text in a text box rather than the text box itself, then simply click inside the text box, press Ctrl + A to select the text, then press Backspace on your keyboard.
The method above for removing a text box with the “Cut” option has you using the right-click menu, where you also see options to click Paste or Copy. You can also find all of these options in the Clipboard group on the Home tab, which is near the Slides group and the Font group. Those are common commands for Powerpoint presentations, as well as Word documents and Excel spreadsheets, so it’s beneficial to know where to find and how to use those tools.
While many of the options on the Powerpoint ribbon are useful for text editing, there are other settings and options that you might find useful. For example, in the Text group of the ribbon where you click Text Box there are buttons for:
- Header & Footer
- Word Art
- Date & Time
- Slide Number
- Object
Each of these buttons provides you with a way to add other elements to your slideshow that can help you get information across in your current presentation or a new presentation, plus they provide tools that can be useful for your own organization and navigation purposes, as well as those of your audience.
Find out how to center a text box in Powerpoint if you need to place your text box at the vertical or horizontal center of a slide.

Kermit Matthews is a freelance writer based in Philadelphia, Pennsylvania with more than a decade of experience writing technology guides. He has a Bachelor’s and Master’s degree in Computer Science and has spent much of his professional career in IT management.
He specializes in writing content about iPhones, Android devices, Microsoft Office, and many other popular applications and devices.