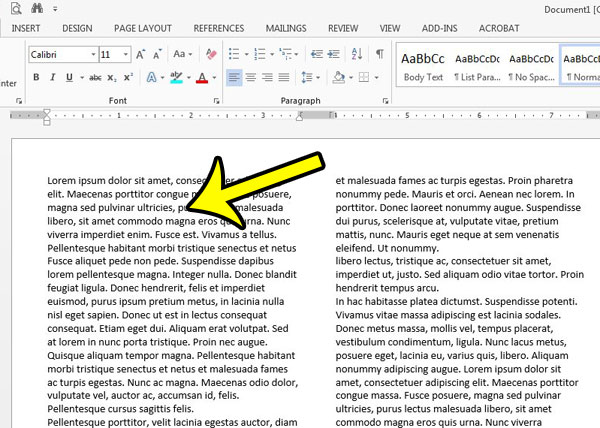
A Word document will typically have one column by default, but it is possible for the number of columns to be changed by someone that is editing that document. But you may change your mind about the number of columns in your document, which can leave you looking for a way to return to a single column document.
the tutorial in the article will show you how to change the number of columns in a document, to meet your current needs. The example we provide will reduce a two-column document to a one-column document, but the same method will allow you switch between any number of columns.
Switch from Two Columns to One Column in Word 2013
The steps in this article will assume that you have a document with two columns, and that you want to change the formatting of that document so that there is only one column. It will not delete the information contained in either column, and will simply delete the column break that was initially added when the document was formatted with two columns. Note that this method will also allow you to reduce higher number of columns, such as going from three columns to two columns.
- Open the document containing columns in Word 2013.
- Click inside a part of the document containing the columns that you wish to modify.
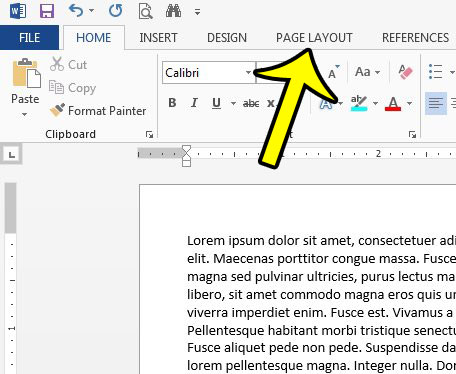
- Click the Page Layout tab at the top of the window.
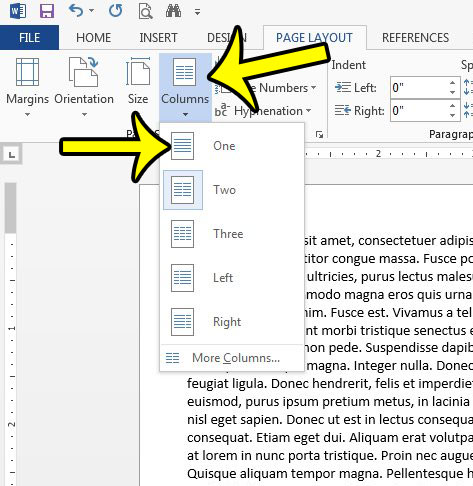
- Click the Columns button in the Page Setup section of the window, then click the One option.
Tip: While it isn’t necessary, you can avoid potential issues when removing columns from an entire document by pressing Ctrl + A after clicking inside the document so that the entire document is selected. This is typically only necessary if columns were created as more than one instance in the document.


Is there incorrect information in the footer section of your document that you need to change? Learn how to edit a footer in Word 2013.

Kermit Matthews is a freelance writer based in Philadelphia, Pennsylvania with more than a decade of experience writing technology guides. He has a Bachelor’s and Master’s degree in Computer Science and has spent much of his professional career in IT management.
He specializes in writing content about iPhones, Android devices, Microsoft Office, and many other popular applications and devices.