Manually configuring the pages in your Word document can be incredible frustrating. It is often difficult to get a page to end or begin at the exact point that you want, and it can be equally annoying when you need to add or remove full pages from an existing document.
Fortunately Word 2013 has an efficient way for you to add a full, blank page inside of your existing Word document. Our guide below will show you how to do this.
How to Insert a Blank Page in Word 2013
The steps below are going to add a full, blank page to your Word document. This page will be added at the point where your cursor is placed when you click the Blank Page button, so be sure that it is in the correct spot before doing so.
Step 1: Open your document in Word 2013.
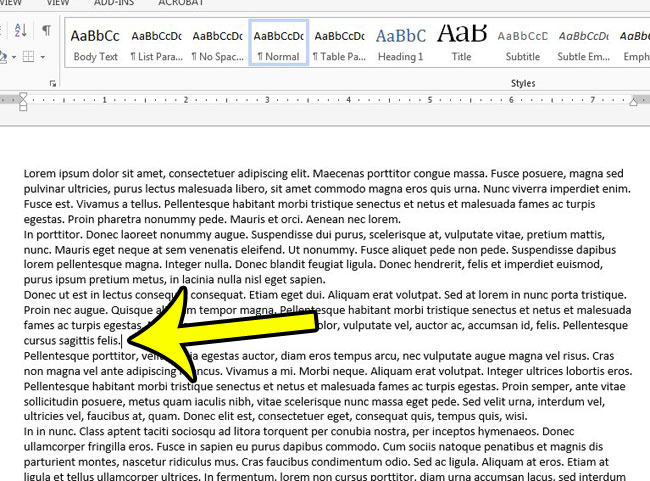
Step 2: Click your mouse at the point in the document where you want to add the full blank page.

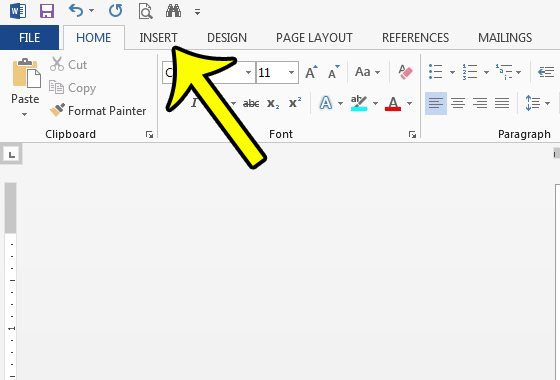
Step 3: Click the Insert tab at the top of the window.

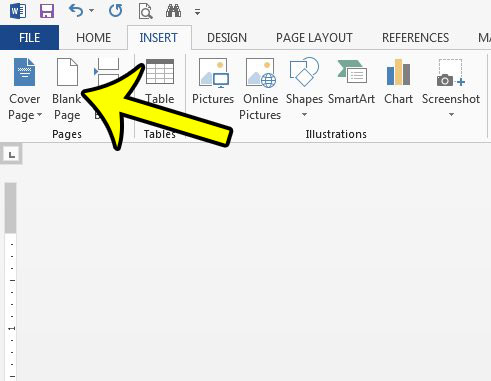
Step 4: Click the Blank Page button in the Pages section at the left side of the ribbon.

Summary – How to Insert a Blank Page in Word 2013
- Place your cursor where you wish to insert the blank page.
- Click the Insert tab.
- Click the Blank Page button.
Proofreading your document is very important when that document is going to be read and critiqued, but there are a lot of potential pitfalls that you might hope to avoid. Learn how to check for passive voice in your document so that you can automatically check for one of the more common grammar mistakes.

Kermit Matthews is a freelance writer based in Philadelphia, Pennsylvania with more than a decade of experience writing technology guides. He has a Bachelor’s and Master’s degree in Computer Science and has spent much of his professional career in IT management.
He specializes in writing content about iPhones, Android devices, Microsoft Office, and many other popular applications and devices.