When Wi-Fi or Ethernet stops working in Windows 10, resetting the network adapter often fixes it. You can start small by disabling and re-enabling a single adapter, reset the TCP/IP and Winsock settings with a few commands, or use Network reset to reinstall every network adapter and restore default settings. This guide goes from the quickest fix to the most thorough.
Quick Answer
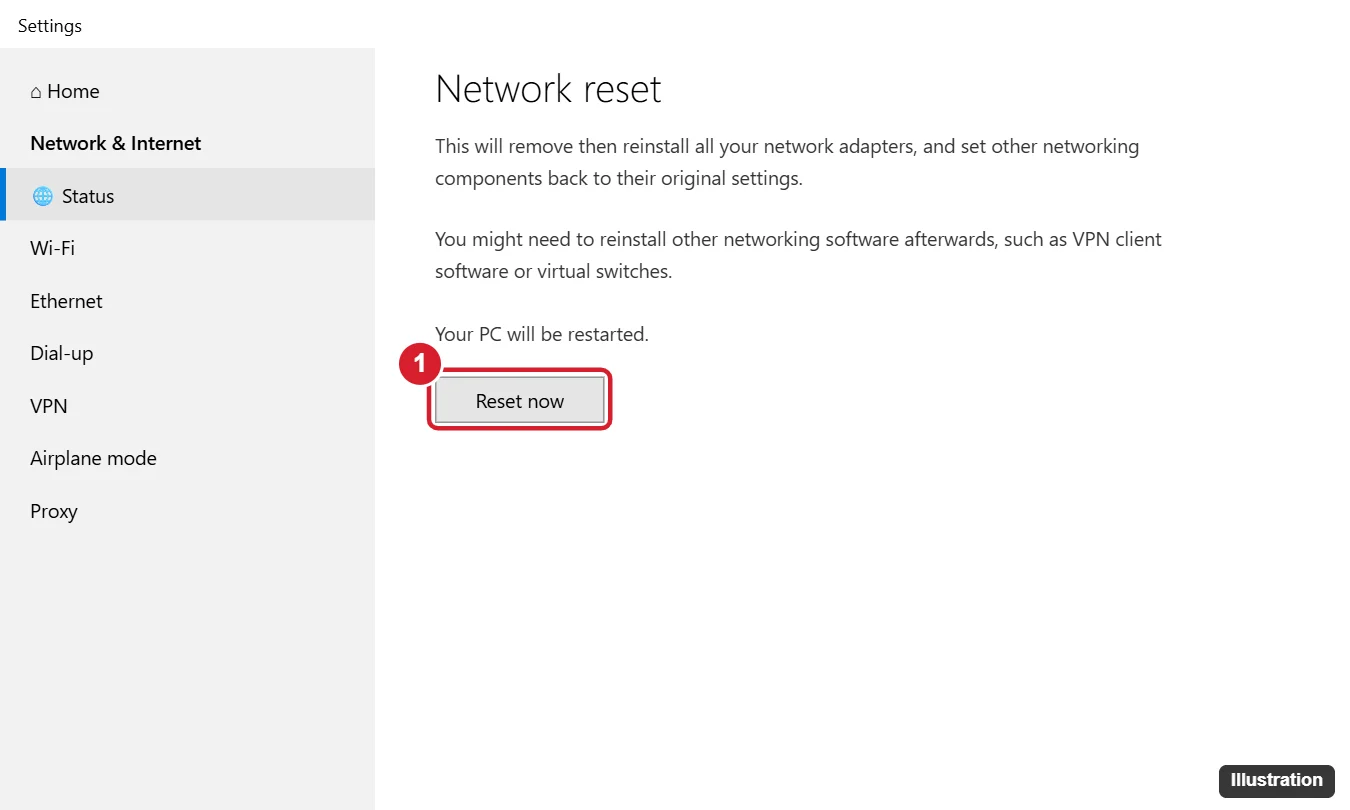
For a full reset, go to Settings > Network & Internet > Status, scroll down and click Network reset, then Reset now. Your PC restarts with network adapters reinstalled and settings returned to defaults. You’ll need to reconnect to Wi-Fi.
Method 1: Disable and Re-enable the Adapter
- Press Windows + R, type ncpa.cpl and press Enter.
- Right-click your Wi-Fi or Ethernet adapter and choose Disable.
- Wait a few seconds, right-click it again and choose Enable.
Method 2: Reset TCP/IP, Winsock and DNS
- Right-click Start and open Command Prompt (Admin) or Windows PowerShell (Admin).
- Run these commands one at a time:
netsh winsock reset netsh int ip reset ipconfig /release ipconfig /renew ipconfig /flushdns - Restart the PC.
This clears corrupted network settings without reinstalling adapters.
Method 3: Network Reset (Full Reset)
- Press Windows + I and click Network & Internet.
- On the Status page, scroll down and click Network reset.
- Click Reset now, then Yes.
- Windows restarts after about five minutes (save your work first).
- Reconnect to Wi-Fi and enter the password.
After a Network reset, you may need to reinstall VPN software and virtual network adapters (for example, those used by virtual machine apps).
Method 4: Reinstall the Adapter Driver
- Right-click Start and choose Device Manager.
- Expand Network adapters, right-click your adapter and choose Uninstall device. Don’t check “Delete the driver software” unless you have a replacement driver ready.
- Restart the PC; Windows reinstalls the adapter automatically.
If Wi-Fi still fails, download the latest driver from your PC or adapter manufacturer on another device and install it.
Run the Network Troubleshooter
Go to Settings > Update & Security > Troubleshoot > Additional troubleshooters > Internet Connections (or Network Adapter) and click Run the troubleshooter.
Still No Connection?
- Restart your router and modem, and test with another device.
- Make sure Airplane mode is off and Wi-Fi is turned on (some laptops have a function key for Wi-Fi).
- Check that the adapter isn’t disabled in the BIOS.
- Try a USB Wi-Fi adapter or Ethernet cable to rule out hardware failure.
If a static IP is causing the problem, turn DHCP back on in Windows 10.
Apps not syncing on your network? Check whether it’s set as metered.
If Wi-Fi is simply switched off, see how to turn on Wi-Fi on an ASUS laptop before resetting anything.
Related: change network adapter settings in Windows 11.
Related: Disable Ethernet in Windows 10.
If only one network gives you trouble, a lighter fix is to forget that one Wi-Fi network before you reset anything.
Frequently Asked Questions
Will Network reset delete my files?
No. It only affects network adapters and settings, including saved Wi-Fi networks.
Do I need the Wi-Fi password again?
Yes, saved Wi-Fi networks are removed. Have the password ready.
Is it the same on Windows 11?
Similar: go to Settings > Network & internet > Advanced network settings > Network reset. Windows 10 reached end of support on October 14, 2025.
Summary
- Disable and re-enable the adapter in ncpa.cpl.
- Reset Winsock and TCP/IP with netsh commands.
- Use Settings > Network & Internet > Status > Network reset.
- Reinstall the driver if problems continue.

Kermit Matthews runs Live2Tech from just outside Philadelphia. He is an IT specialist with over 20 years of experience, from a university help desk to small-business IT, IT management and his own consulting practice, and has written tech guides full time since 2020. Steps are checked against the current software on a real device or the maker’s official documentation. More about Kermit.