Your Windows 11 edition decides how you build a virtual machine (VM), a whole computer running inside a window, with its own disk and operating system. Check it in Settings > System > About: Pro, Enterprise and Education include Hyper-V, Microsoft’s built-in hypervisor, while Home needs VirtualBox or VMware Workstation Pro, both free. Either way, a Windows 11 guest stops at setup without a virtual TPM, Secure Boot, two processors and 4 GB of memory, so plan those first.
Check your edition and hardware
Check these four things now so the wizard doesn’t stop you halfway. Microsoft’s Hyper-V requirements and install page has the official wording.
- Edition. Open Settings > System > About and look at the edition listed under the Windows specifications. Microsoft says Hyper-V is included in Windows 11 Pro, Enterprise and Education and can’t be installed on Home.
- Processor. Hyper-V needs a 64-bit processor with Second Level Address Translation (SLAT, a feature that speeds up memory handling for VMs) and VM Monitor Mode Extension support.
- Virtualization turned on in the firmware. Many PCs ship with it on. Task Manager’s Performance tab shows a virtualization line in the CPU view. If it’s off, go to Settings > System > Recovery, choose Restart now next to Advanced startup, then Troubleshoot > Advanced options > UEFI Settings, turn on the virtualization option and save. The menu names inside the firmware vary by PC maker; this walkthrough for enabling virtualization in Windows 11 covers the common ones. If a VM later refuses to start with “The virtual machine could not be started because the hypervisor is not running”, virtualization is off in the firmware, so turn it on in UEFI settings, save and restart.
- Memory and permissions. Microsoft lists 4 GB of host memory as the minimum for Hyper-V, but that leaves little for a guest. To create VMs you must be in the local Administrators group or the Hyper-V Administrators group.
If this fails: when there’s no Hyper-V entry in Windows features, the cause is Windows 11 Home (Hyper-V can’t be installed on Home), so use VirtualBox or VMware Workstation Pro from the next section, or upgrade the edition.
Windows 11 Home: VirtualBox or VMware Workstation Pro
Both apps are free to download and run on every edition, Home included. Download them only from the developer’s own site, never a download mirror, and remove them later in Settings > Apps > Installed apps if you stop using them. The memory and disk sizes in the next section apply to them too.
VirtualBox
VirtualBox comes from Oracle; get the Windows hosts installer from the VirtualBox downloads page. Its base package is open source under the GPL version 3 license, and Windows 11 is a supported host. The optional Extension Pack has a separate license that is free only for personal and educational use, and you don’t need it to create a VM. Click New, name the VM, choose the ISO, and the wizard can run an unattended install for some systems. Before installing a Windows 11 guest, open the VM’s System settings and use the Motherboard tab to turn on a TPM, EFI and Secure Boot. The manual lists Windows 11 (64-bit) as a supported guest but not Windows Insider builds, and it notes that changing the VM’s virtual hardware can make Windows ask to be activated again.
VMware Workstation Pro
Broadcom made Workstation Pro free for personal, educational and commercial use starting November 11, 2024, for version 17.5.2 and later. You’ll need a free Broadcom Support Portal account to download it, as Broadcom’s free-license announcement explains, and when setup asks about licensing, choose the free option instead of entering a key. For a Windows 11 guest, add a virtual TPM in the VM’s settings; VMware may ask you to encrypt the VM first.
One caution if you also have Hyper-V turned on: Microsoft says VirtualBox and VMware don’t need to be uninstalled, but they might not start VMs, or might run unreliably, while the Hyper-V hypervisor is running. If that happens, turn Hyper-V off in the Windows features dialog and restart.
The live2tech walkthrough for running Windows 7 in a virtual machine was written for a Windows 10 host, but its VirtualBox and VMware setup for an old Windows guest follows the same pattern on Windows 11.
Size memory, disk and networking before you build
The wizard asks for memory, a network and a disk size in quick succession, so decide them first.
Memory
While a VM runs, the memory you give it comes out of the host’s RAM. A Windows 11 guest needs at least 4 GB (enter 4096 MB in the wizard), because Windows 11 setup checks for it just as it would on a real PC. Linux desktops usually need less; check the distribution’s own requirements page. Windows 11 also needs two processor cores, and a new VM can start with a single virtual processor, so you’ll raise that count before the first start.
A worked example: a laptop with 16 GB of RAM can give a Windows 11 guest 4 to 6 GB and still keep 10 GB or more for Windows, the browser and the apps you use beside the VM. On an 8 GB laptop, a 4 GB guest leaves the host tight. The Hyper-V wizard also offers Dynamic Memory, which lets Hyper-V adjust how much memory the VM holds while it runs.
Disk
Windows 11 needs 64 GB of storage. That’s the floor for setup; updates and apps fill it quickly, so 80 to 100 GB is more practical for a guest you’ll keep. Store the VM on an SSD with plenty of free space if you can, since a VM on a slow hard drive feels slow no matter how much memory it has. If a finished VM still feels sluggish, shut it down and add memory or processors, move it to an SSD, or close heavy apps on the host.
Networking
Hyper-V connects a VM to a network through a virtual switch. Pick one by what the VM should reach.
| Switch | What the VM can reach | Use it when |
|---|---|---|
| Default Switch (if your list shows it) | The internet through the host’s connection | You want the VM online with no setup. |
| External switch | Your physical network, like another PC on it | Other devices on your network must see the VM. |
| Internal switch | The host and other VMs | You’re building a NAT setup or a host-only test. |
| Private switch | Other VMs on the same host | You want VMs to talk only to each other. |
| No switch | Nothing | You’re examining files you don’t trust. |
If the VM has no internet once it’s running, open its Settings and connect the network adapter to a switch; if a VPN is running on the host, pause it to test.
To create an external, internal or private switch, open Hyper-V Manager and select Virtual Switch Manager in the Actions pane. You can also skip networking in the wizard and add it later.
Switch on Hyper-V in Windows features
Hyper-V ships turned off. Use either method below; both end with a restart.
From the Windows features dialog
- Click Start, type Windows features, and open Turn Windows features on or off.
- Check Hyper-V. This selects both the management tools and the platform underneath it.
- Click OK and restart when Windows asks.
From PowerShell or DISM
Right-click Start, open Terminal (Admin), and run this command, then restart:
Enable-WindowsOptionalFeature -Online -FeatureName Microsoft-Hyper-V -All
The DISM equivalent, from an administrator Command Prompt, is DISM /Online /Enable-Feature /All /FeatureName:Microsoft-Hyper-V.
If Hyper-V isn’t in the list at all, go back to the VirtualBox and VMware section above.
When Quick Create is the better choice
Hyper-V Quick Create builds a VM from a single dialog. It’s the faster route when the defaults suit you; the full wizard in the next section is better when you want to pick the generation, the disk size and the storage folder yourself.
- Click Start, type Hyper-V Quick Create, and open it.
- Choose an image from the list (Microsoft and its partners provide them, and the list changes) or select Local Installation Source.
- For a local source, select Change Installation Source and pick your ISO or virtual disk file.
- Leave Secure Boot on for a Windows image. For a Linux image, clear the Secure Boot option.
- Select Create Virtual Machine.
- When it finishes, choose to edit the settings before you connect. Check memory, the processor count and the Security page, and turn on the Trusted Platform Module option for a Windows 11 guest if it isn’t on. Then connect and start the VM.
Build the VM in Hyper-V Manager
Have your installation ISO ready before you start. For Windows 11, download it from Microsoft’s Windows 11 download page; for Linux, get the ISO from the distribution’s own website.
- Click Start, type Hyper-V Manager, and open it. Select your PC’s name in the left pane.
- In the Actions pane, select New > Virtual Machine. When the New Virtual Machine Wizard opens, select Next.
- Specify Name and Location: type a name you’ll recognize, such as “Win11 Test” or “Ubuntu Lab”. To keep the VM on another drive, check Store the virtual machine in a different location and browse to a folder there.
- Specify Generation: choose Generation 2. Microsoft recommends it unless you have a specific reason for Generation 1, such as an old 32-bit operating system that can’t start from UEFI firmware. Windows 11 needs Generation 2. Choose carefully, because the generation is set when the VM is created, and Microsoft’s guide to choosing Generation 1 or 2 confirms it can’t be changed afterward.
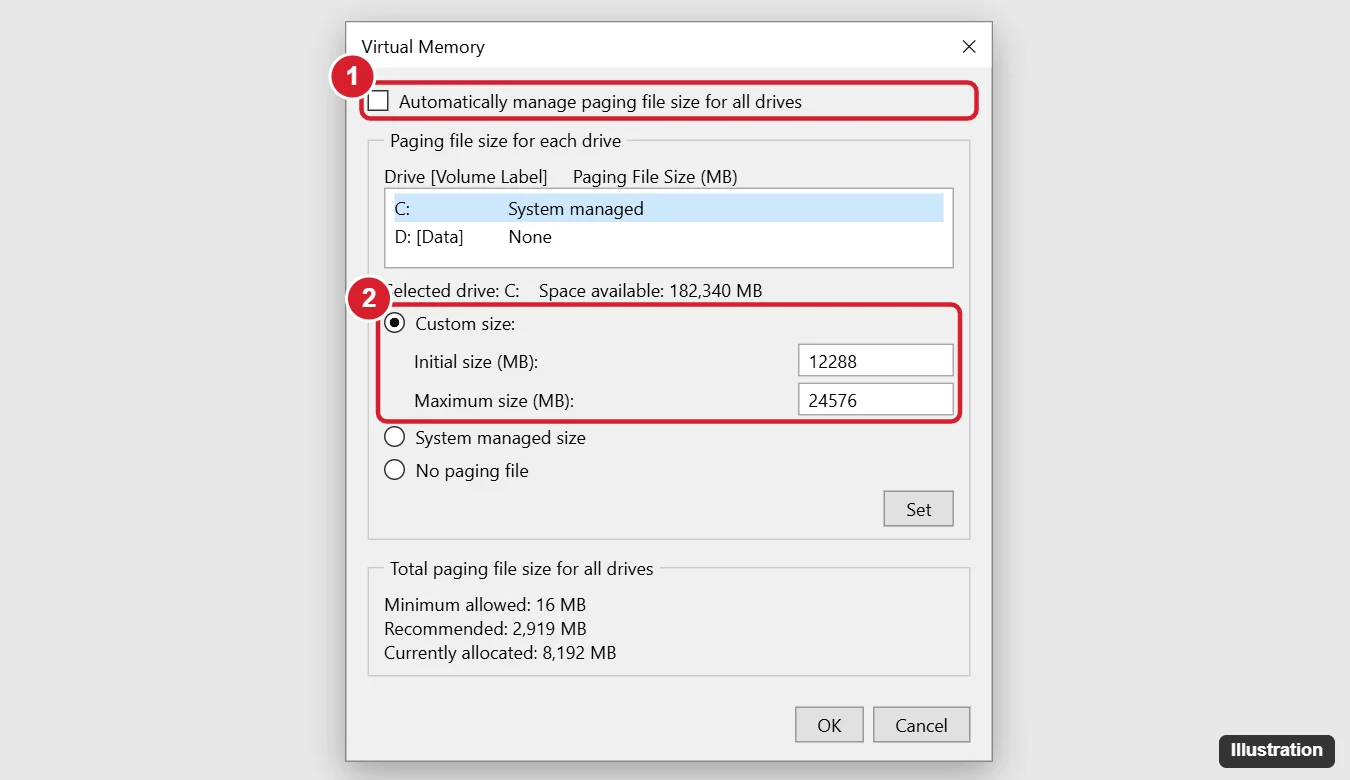
- Assign Memory: enter the amount you planned, in megabytes (4096 MB for a Windows 11 guest, more if the host has room). Leave Dynamic Memory on unless you want a fixed amount.
- Configure Networking: select the virtual switch you chose earlier. If you haven’t made one yet, leave the VM unconnected and add networking later.
- Connect Virtual Hard Disk: choose Create a virtual hard disk and enter the size. The other options, Use an existing virtual hard disk and Attach a virtual hard disk later, are for disks you already have.
- Installation Options: choose Install an operating system from a bootable image file and browse to your ISO. The page also offers Install an operating system later, a bootable floppy disk and a network-based installation server.
- Check the Summary page and select Finish.
The VM now appears in the middle of Hyper-V Manager in the Off state. Don’t start it yet if the guest is Windows 11.
Settings to change before the first boot
Windows 11 setup checks for a TPM (Trusted Platform Module, a security chip that Hyper-V can provide in virtual form), UEFI Secure Boot and two processor cores. Set them now; fixing them after setup has failed means starting the installation again.
- Right-click the VM and choose Settings.
- Select Security. Keep Secure Boot turned on and set its template to Microsoft Windows for a Windows guest. For a Linux guest, switch the template to Microsoft UEFI Certificate Authority; if that distribution still won’t start, turn Secure Boot off.
- On the same page, turn on the Trusted Platform Module option. Windows 11 needs TPM 2.0, and this virtual TPM provides it.
- Select Processor and raise the number of virtual processors to 2 or more. Half the host’s cores is a sensible ceiling for one VM.
- Select Checkpoints and leave checkpoints turned on. Production checkpoints are the default and are the right choice for most people.
- Click OK.
If this fails: if Windows 11 setup still says “This PC can’t run Windows 11”, shut the VM down and look for a missing TPM, Secure Boot turned off, a single processor, less than 4 GB of memory or a disk under 64 GB; a Generation 1 VM has to be rebuilt as Generation 2.
Microsoft’s page on Generation 2 security settings in Hyper-V lists the three Secure Boot templates and what the virtual TPM is for. The full guest checklist is on Microsoft’s Windows 11 system requirements page.
Install the operating system and connect
- Right-click the VM and choose Connect. A Virtual Machine Connection window opens.
- Select Action > Start.
- Watch for a prompt to press any key to boot from CD or DVD, and press a key right away. If you miss it, the VM may report that no boot device was found; restart the VM from the Action menu and try again.
- Follow the installer as you would on a real PC.
The first session is a basic one: a fixed-size window with no shared clipboard. Windows guests can use Enhanced Session Mode, which runs the connection over Remote Desktop and adds clipboard sharing, printers and audio by default. To get it, sign in to the guest, search for Remote Desktop settings, and turn on Enable Remote Desktop. If the connection window then shows no sign-in prompt, turn off For improved security, only allow Windows Hello sign-in for Microsoft accounts on this device in the guest’s Settings > Accounts > Sign-in options. Then use the enhanced session button on the connection window’s toolbar. To bring a host drive or USB device into the VM, choose Show Options > Local Resources > More before connecting; shared drives show up under This PC in the guest. Microsoft’s Enhanced Session Mode page has the details. Linux guests stay in the basic session.
Checkpoints and removing a VM
A checkpoint saves the VM’s state so you can roll back after a bad update or a test that went wrong. Right-click the VM and choose Checkpoint.
- Production checkpoints (the default) use backup technology inside the guest and don’t save the running memory. When you apply one, the VM starts from a shut-down state.
- Standard checkpoints save the memory too, so the VM returns exactly where it was, open apps included.
- Applying a checkpoint gives you a choice: Create Checkpoint and Apply saves your current state first, while plain Apply discards everything since the checkpoint and can’t be undone.
- Deleting a checkpoint: right-click it and choose Delete Checkpoint, or Delete Checkpoint Subtree to remove it and everything after it. Hyper-V merges the change files for you. Never delete the .avhdx files in File Explorer by hand; that can corrupt the VM.
To remove a VM you no longer need, shut it down, right-click it in Hyper-V Manager and choose Delete. Then check the folder you used on the Specify Name and Location page for leftover virtual hard disk files before deleting them to free the space. Microsoft’s guide to Hyper-V checkpoints explains the checkpoint types in more depth.
When a full VM isn’t the best fit
A full VM costs memory and disk space for as long as it exists, so before you keep one around, check whether a lighter tool does the job.
| What you want | Best fit | Why |
|---|---|---|
| Open one suspicious file or try an installer once | Windows Sandbox (Pro, Enterprise, Education) | It’s disposable: closing it deletes everything inside. |
| Run Linux command-line tools for coding | WSL (Windows Subsystem for Linux) | Lighter than a full VM and built into Windows. |
| Try a Linux desktop or another copy of Windows for weeks | Hyper-V on Pro and up, VirtualBox or VMware on any edition | A VM keeps its files and settings until you delete it. |
| Keep an older program working | Compatibility mode first, then a VM with the older Windows | Compatibility mode costs nothing; a VM is the fallback. |
| Run demanding games or use the full graphics card | Dual boot | Each system gets the real hardware instead of a virtual share. |
A few details help you choose. Windows Sandbox runs one instance at a time, has networking turned on by default, and on Windows 11 version 22H2 and later it keeps its contents through a restart you start from inside the sandbox; close the window and it’s gone. If that fits, see how to use Windows Sandbox for throwaway testing. For Linux tools in a terminal, installing WSL on Windows 11 is quicker than building a VM. For an old app, try compatibility mode in Windows 11 before anything else. If you need full speed for games, dual booting Windows 11 gives each system the whole machine.
On Windows 10 or Windows 11 Home, a free alternative to Hyper-V is to set up Windows 10 in a VirtualBox virtual machine.
Windows 11 VM questions
Does a Windows VM need its own license?
Generally, yes. Windows inside a VM is treated like an installation on a separate PC, so plan on a valid license for it. Your license terms decide the details, and a business volume license may cover VMs differently.
Will VirtualBox or VMware still work after I turn on Hyper-V?
They stay installed, but Microsoft warns they might not start VMs or might run unreliably while the Hyper-V hypervisor is active. If you depend on one of them, test it after enabling Hyper-V, and turn Hyper-V back off if it misbehaves.
Is a VM a safe place to open a file I don’t trust?
Safer than your main PC, not risk-free. Take a checkpoint first, disconnect the VM from every network, and apply the checkpoint when you’re done. For a one-time look, Windows Sandbox is simpler.
Check your edition first: on Pro and up, turn on Hyper-V; on Home, install VirtualBox or VMware Workstation Pro. Set TPM, Secure Boot and two processors before the first boot, take a checkpoint as soon as the guest is installed, and if a lighter tool fits the job better, the table above points to it.

Kermit Matthews runs Live2Tech from just outside Philadelphia. He is an IT specialist with over 20 years of experience, from a university help desk to small-business IT, IT management and his own consulting practice, and has written tech guides full time since 2020. Steps are checked against the current software on a real device or the maker’s official documentation. More about Kermit.