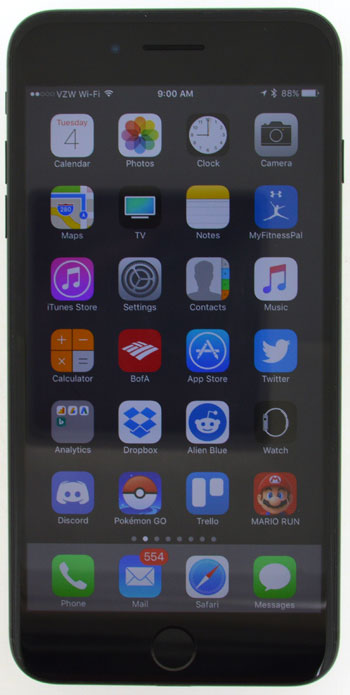
If you’ve ever had something on your iPhone screen that you wanted to show to someone else, then you might have tried taking a picture of it with another device.
While this can work, it may not produce the result that you wanted.
Luckily there is a screenshot tool built into the iPhone that you can use instead which can create a picture from the same device. Our tutorial below will show you how to take a screenshot on your iPhone.
You can also check out this how to take a screenshot on iPhone 13 video on YouTube.
How to Screenshot an iPhone Without a Home Button
- Position your screen items for the screenshot.
- Press the Volume Up button and the Power button at the same time.
Our guide continues below with additional information about iPhone screenshots, including pictures of these steps.
Learning how to take a screenshot on your iPhone can open up a whole new world of ways that you can share information with your friends, and keep track of important information that you might otherwise have difficulty saving.
The screenshot feature on your iPhone works very similarly to the Print Screen function that you might be familiar with if you have used that feature on your Windows or Mac computer. Basically, you capture an image of your iPhone screen, which is then saved to your iPhone as a picture. It can then be shared or edited in the same way as a picture that you would take with your camera.
Our guide below will show you how to capture a screenshot on your iPhone. It’s a very convenient and intuitive way to image your iPhone screen and, once you are familiar with it, you will find that taking screenshots is a simple and effective way to save information.
How to Do a Print Screen on an iPhone 7 (Or Other iPhones with Home Buttons)
The steps in this article were performed on an iPhone 7 Plus, in iOS 10.2. Once you have finished these steps and taken the screenshot on your iPhone 7, you will have a new picture in your Camera Roll. The iOS 10 operating system also has a separate Screenshots folder where you can view only the images on your Camera Rolls that the iPhone has identified as a screenshot. While these steps are specifically for how to take a screenshot on an iPhone 7, this will work for other iPhone models as well, in other versions of iOS.
Step 1: Adjust your iPhone screen so that the information that you want to include in the screenshot is visible.

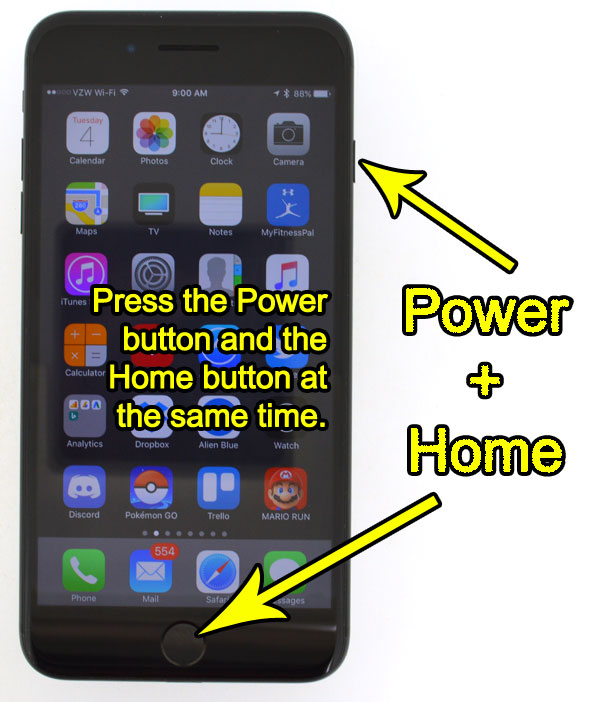
Step 2: Press the Power button and the Home button simultaneously to take a screenshot of your iPhone screen.

The screen will flash white and you will hear the camera shutter sound (if your sound is on) once you have taken the screenshot.
As mentioned earlier, you can then browse to the Photos app and select either the Camera Roll or the Screenshots album to see the screenshot image.
Running out of space on your iPhone? Learn how to delete junk files on your iPhone 7 and remove the file clutter that you don’t need or are no longer using.
If your screen is turning off before you can do what you need to, then there is a setting that you can adjust to help. We discuss that in the next section.
How to Change the iPhone Auto-Lock Setting
If you own an iPhone, you may have noticed that the screen turns off after a short period of time if you haven’t touched it. This is a default setting implemented by Apple to help conserve battery life, but it can be frustrating if you’re trying to read something or watch a video and the screen keeps turning off.
Fortunately, adjusting the auto-lock setting on your iPhone is a simple process that can help you keep the screen on for longer periods of time. Here’s how to do it:
Step 1: Open Settings
To get started, open the Settings app on your iPhone. It’s usually located on the home screen and looks like a gear icon.
Step 2: Select Display & Brightness
Once you’re in the Settings app, scroll down until you see the option for Display & Brightness. Tap on this option to continue.
Step 3: Choose Auto-Lock
Within the Display & Brightness settings, you’ll see an option for Auto-Lock. Tap on this option to see the available choices for how long the screen will stay on before turning off.
Step 4: Select a period of time
Choose the amount of time that you want the screen to stay on before it turns off. Your options include 30 seconds, 1 minute, 2 minutes, 3 minutes, 4 minutes, 5 minutes, and Never.
If you choose the Never option, the screen will stay on indefinitely until you manually press the Power button to lock the device. Keep in mind that this can lead to accidental pocket dials and significant battery drain if you forget to lock your phone manually.
By following these steps, you can easily adjust your iPhone’s auto-lock settings to keep the screen on for longer periods of time. If you need additional information, you can check out this helpful tutorial about how to make the iPhone screen stay on longer.

Kermit Matthews is a freelance writer based in Philadelphia, Pennsylvania with more than a decade of experience writing technology guides. He has a Bachelor’s and Master’s degree in Computer Science and has spent much of his professional career in IT management.
He specializes in writing content about iPhones, Android devices, Microsoft Office, and many other popular applications and devices.