Windows 10 still has a built-in account named Guest, but since the 2016 Anniversary Update you can’t sign in to it; it’s disabled and hidden from the sign-in screen. The practical replacement is a local standard account for visitors, which keeps them out of your files and settings. This guide shows how to create one, why you can’t just enable Guest, how to limit what visitors can do, and how to remove the account afterward.
Quick Answer
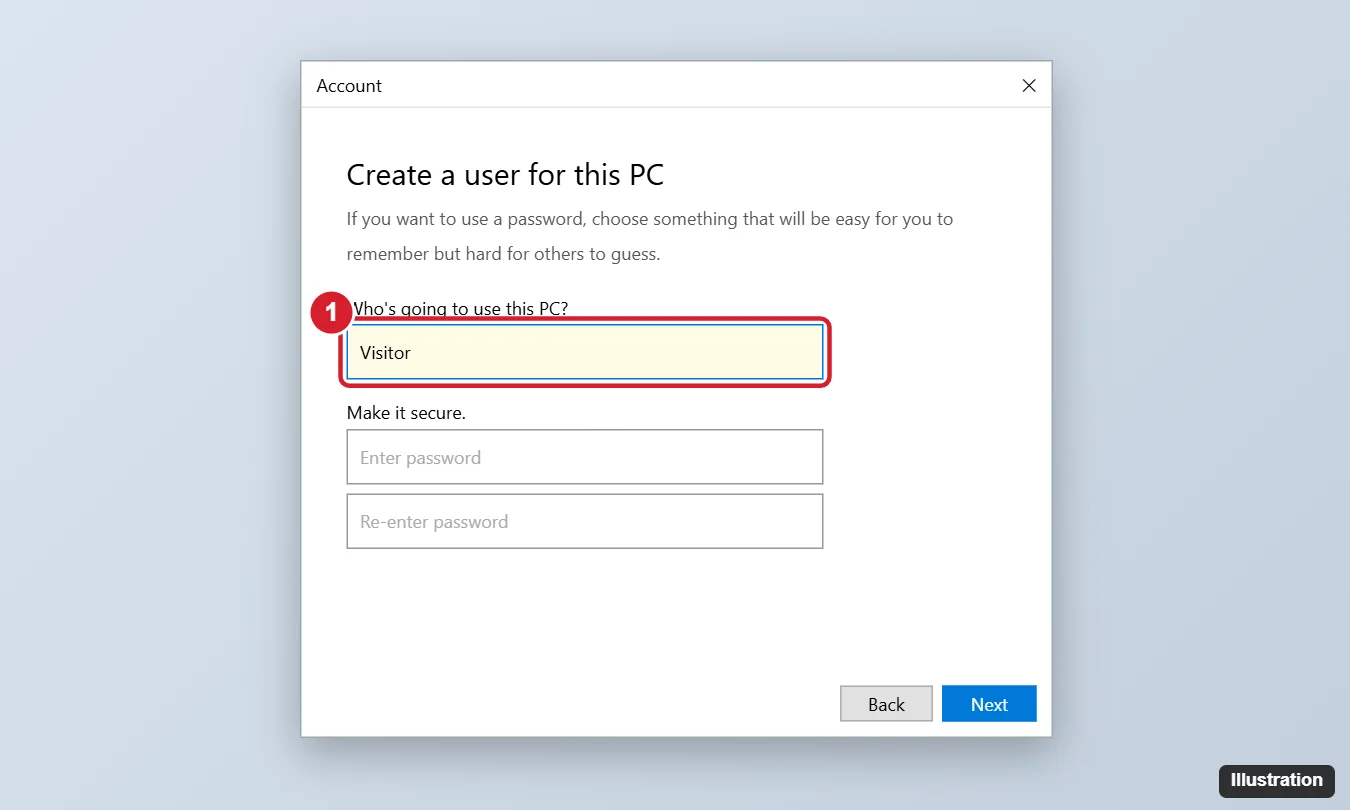
Go to Settings > Accounts > Family & other users > Add someone else to this PC. Click I don’t have this person’s sign-in information, then Add a user without a Microsoft account. Name it something like Visitor (not “Guest,” which is reserved), leave the password blank or set one, and click Next. The account is a standard user by default.
Why You Can’t Enable the Built-In Guest Account
Older Windows versions let visitors sign in as Guest. In Windows 10 version 1607 and later, the account still exists (you’ll see it in Computer Management or with net user), but even if you enable it, it won’t appear on the sign-in screen and can’t be used normally. Old command tricks that add “Guest” to groups don’t work reliably and can break things.
Create a Visitor Account in Settings
- Sign in with an administrator account.
- Open Settings > Accounts > Family & other users.
- Under Other users, click Add someone else to this PC.
- Click I don’t have this person’s sign-in information, then Add a user without a Microsoft account.
- Enter a name such as Visitor. Leave the password fields blank for easy access, or set a password and security questions.
- Click Next. The account appears under Other users as a Local account.
Create It With Command Prompt
Open Command Prompt as administrator and run:
net user Visitor /add /active:yesNew accounts are added to the Users group (standard users) by default. To set a password, add it after the name, or run net user Visitor *.
What a Standard Visitor Account Can and Can’t Do
- Can: browse the web, use installed apps, save files in its own folders.
- Can’t: install most software, change system settings, or open other users’ personal folders without an admin password.
Make sure your own files are in your user folder (Documents, Pictures) rather than a shared location like C:\Users\Public.
Limit It Further
- Microsoft Family Safety controls apply to child accounts linked to a Microsoft account, not local accounts; for local accounts, rely on standard-user limits.
- On Windows 10 Pro, Assigned access (Settings > Accounts > Family & other users > Set up a kiosk) can lock the account to a single app.
- Sign out of browsers and cloud apps in the visitor account after each use, or clear browsing data.
Switch to or Remove the Account
- Switch: press Ctrl + Alt + Delete and choose Switch user, or pick the account on the sign-in screen.
- Remove: in Settings > Accounts > Family & other users, select the account and click Remove > Delete account and data. See how to delete a user on Windows 10.
For a full account, see how to add an account on Windows 10.
To control what users can change, see limiting user access in Windows 10.
Frequently Asked Questions
Can I name the account “Guest”?
No. The name is reserved by the built-in account. Use Visitor, Guest User or similar.
Is it the same in Windows 11?
Yes, the built-in Guest can’t be used there either; create a local standard account the same way. Windows 10 reached end of support on October 14, 2025.
Summary
- The built-in Guest account no longer works in Windows 10.
- Add someone else > Add a user without a Microsoft account.
- Name it Visitor and keep it a standard user.
- Remove it when you no longer need it.

Kermit Matthews is a freelance writer based in Philadelphia, Pennsylvania with more than a decade of experience writing technology guides. He has a Bachelor’s and Master’s degree in Computer Science and has spent much of his professional career in IT management.
He specializes in writing content about iPhones, Android devices, Microsoft Office, and many other popular applications and devices.