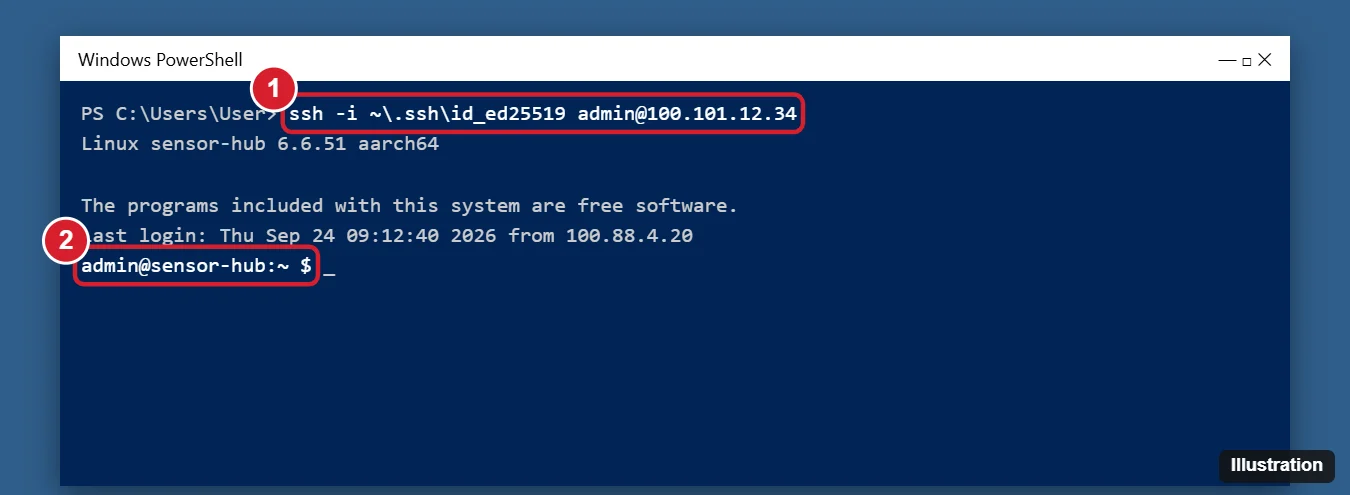
The safest way to SSH into an IoT device from anywhere on Windows 10 is to put your PC and the device on the same private VPN, such as a mesh VPN service or a WireGuard VPN on your home router. Then open PowerShell and connect with the built-in OpenSSH client using the device’s VPN address, for example ssh admin@100.101.12.34. This avoids opening SSH to the whole internet with port forwarding, which attracts constant login attempts.
Below you’ll find how to set up the SSH client on Windows 10, three ways to reach your device remotely, and how to secure the connection with SSH keys.
Step 1: Make sure SSH works on your local network
- Enable SSH on the IoT device. On many Linux-based boards, it’s an option in the setup tool or configuration menu.
- On Windows 10, open PowerShell and type ssh. If you see usage instructions, the OpenSSH client is installed. If not, go to Settings > Apps > Optional features > Add a feature and install OpenSSH Client.
- Connect on your home network: ssh username@192.168.1.50, replacing the user name and address with your device’s.
- Type yes to trust the device the first time, then enter the password.
Step 2: Choose a way to connect from anywhere
| Method | Security | Difficulty |
|---|---|---|
| Mesh VPN (install a client on the PC and the device) | High. Nothing is exposed to the internet. | Easy |
| VPN server on your router (such as WireGuard) | High | Medium. Needs a compatible router. |
| Cloud tunnel service with access controls | High when configured correctly | Medium |
| Port forwarding on your router | Low unless heavily hardened | Easy, but not recommended |
Option A: Mesh VPN (recommended for most people)
- Sign up for a reputable mesh VPN service and install its client on your Windows PC.
- Install the same client on the IoT device (most support Linux on ARM) and sign in with the same account.
- Find the device’s private VPN address in the service’s admin page or app.
- From PowerShell, connect with ssh username@ followed by that address.
Option B: VPN on your router
If your router supports a VPN server, enable it, create a profile for your PC, and install the matching VPN app on Windows. When you connect to the VPN, your PC acts like it’s on your home network, so you can use the device’s local address.
Step 3: Secure SSH with keys
- In PowerShell, run ssh-keygen -t ed25519 and press Enter to accept the default location. Add a passphrase for extra protection.
- Copy your public key (the file ending in .pub in your .ssh folder) to the device’s ~/.ssh/authorized_keys file.
- Test that key login works, then turn off password logins on the device by setting PasswordAuthentication no in its SSH server configuration and restarting SSH.
- Change any default passwords on the device and keep its software updated.
Why not just use port forwarding?
Forwarding port 22 exposes your device to automated attacks from all over the internet. If you must, use a non-standard port, keys only, and a tool that blocks repeated failed logins. A VPN is simpler and safer for home use.
Troubleshooting
- Connection timed out: Check that both devices are online in your VPN, and that SSH is running on the device.
- Permission denied (publickey): Make sure the public key is in the right account’s authorized_keys file and that file permissions are correct.
- Host key warning: This appears if the device was reinstalled. If you trust it, remove the old entry from .ssh\known_hosts on your PC.
Frequently asked questions
Does Windows 10 have SSH built in?
Yes. Recent versions include the OpenSSH client, which you can use from PowerShell or Command Prompt.
Can I SSH from my phone too?
Yes. Install the same VPN app and an SSH app on your phone, then connect to the device’s VPN address.
Is it legal to SSH into devices remotely?
Yes, for devices you own or have permission to manage. Never access devices you’re not authorized to use.

Kermit Matthews is a freelance writer based in Philadelphia, Pennsylvania with more than a decade of experience writing technology guides. He has a Bachelor’s and Master’s degree in Computer Science and has spent much of his professional career in IT management.
He specializes in writing content about iPhones, Android devices, Microsoft Office, and many other popular applications and devices.