To use a Samsung T7 SSD on Windows 10, plug it into a USB port with the included USB-C cable (use the USB-C to USB-C or USB-C to USB-A cable that fits your PC). Windows recognizes it automatically, and it appears in File Explorer under This PC as a new drive, ready to use for copying files, backups, or games. For password protection, firmware updates, and drive health, install Samsung’s Magician software (which now manages the T7 family). Always eject the drive before unplugging it.
This guide covers connecting the T7, T7 Touch, and T7 Shield, getting full speed, formatting for Windows or cross-platform use, setting up security, using it for backups, and fixing a drive that doesn’t show up.
Step 1: Connect the drive
- Plug the USB-C end of the cable into the T7.
- Plug the other end into your PC. For the best speed, use a USB 3.2 Gen 2 (10Gbps) port, often labeled “SS10” or a USB-C port; USB 2.0 ports work but are much slower.
- Wait a few seconds. The drive light turns on, and Windows installs the driver automatically.
Step 2: Open the drive in File Explorer
Press Windows + E and click This PC. The T7 appears under Devices and drives, usually named T7 with a new drive letter.
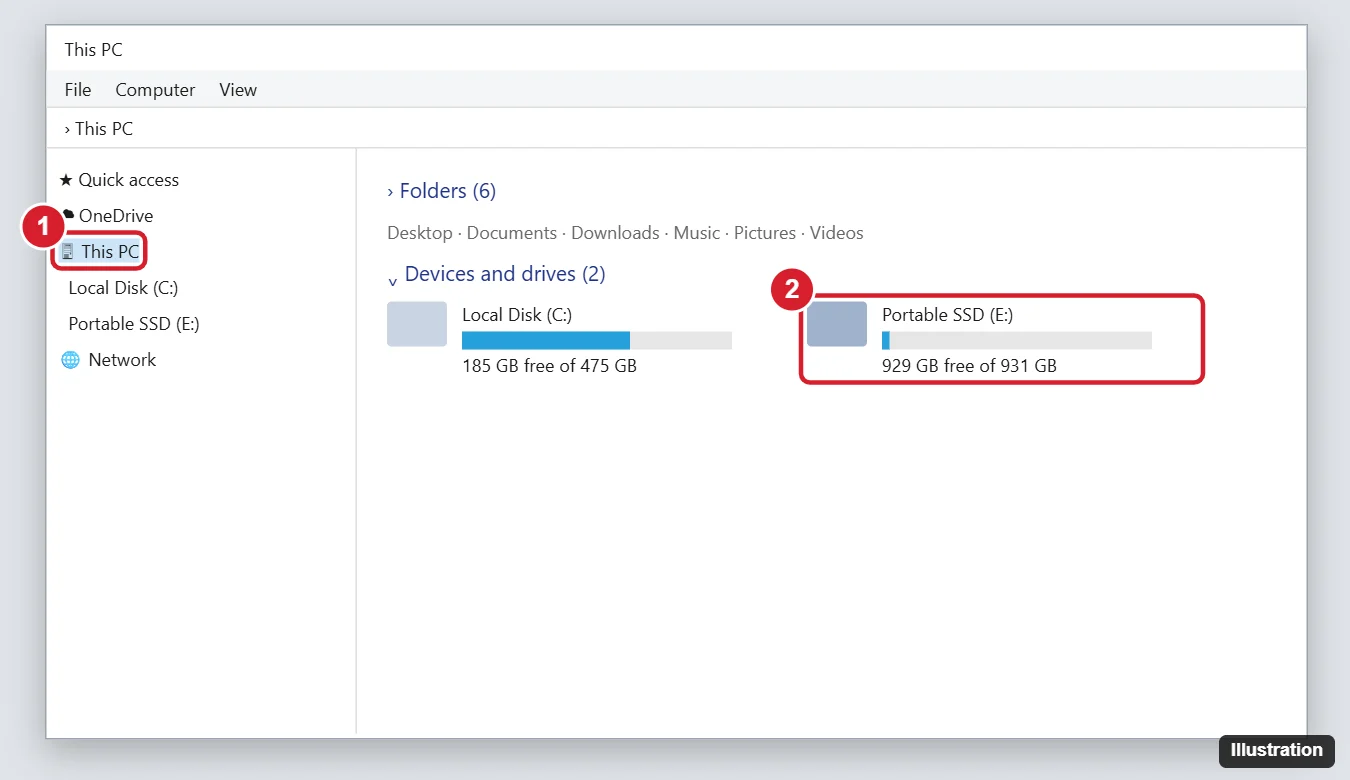
A 1 TB drive shows about 931 GB because Windows measures storage in binary units.
Step 3: Choose a file system (optional)
The T7 comes formatted as exFAT, which works with Windows, Mac, and many game consoles and cameras. Keep exFAT if you’ll use it with other devices. For Windows-only use, you can reformat to NTFS:
- Back up any files on the drive.
- In File Explorer, right-click the drive and choose Format.
- Choose NTFS, leave Quick Format checked, and click Start.
Note that Samsung’s password protection software may need to be set up after formatting; check Samsung’s instructions for your model.
Step 4: Set up security and updates
- Download Samsung Magician from Samsung’s official website.
- Use it to update the firmware, check drive health, and turn on password protection.
- On the T7 Touch, you can also register fingerprints to unlock the drive.
Use the T7 for backups
- File History – go to Settings > Update & Security > Backup > Add a drive and choose the T7 to back up your files automatically.
- System image – search for Backup and Restore (Windows 7) and choose Create a system image to back up the entire PC.
- Games – in game launchers, you can add a library folder on the T7 to store or run games.
Eject safely
Close any files on the drive, then right-click it in File Explorer and choose Eject, or use the Safely Remove Hardware icon on the taskbar.
Troubleshooting
- Drive doesn’t appear – try another cable and port, avoid unpowered hubs, and check Disk Management (right-click Start). If the drive shows without a letter, right-click it and choose Change Drive Letter and Paths > Add.
- Slow speeds – you’re probably on a USB 2.0 or 5Gbps port. Look for a 10Gbps port and use Samsung’s cable.
- Drive disconnects randomly – in Device Manager, open Universal Serial Bus controllers > USB Root Hub properties and turn off Allow the computer to turn off this device to save power.
- “You need to format the disk” – don’t format if you have data on it; try the drive on another PC first.
Frequently asked questions
Does the Samsung T7 work with Windows 11?
Yes. The steps are the same.
Can I use the T7 with both Windows and Mac?
Yes. Keep it formatted as exFAT.
Can I install Windows on the T7?
Running Windows from an external SSD isn’t officially supported for regular Windows editions, but the T7 works well for storing files, backups, and game libraries.

Kermit Matthews is a freelance writer based in Philadelphia, Pennsylvania with more than a decade of experience writing technology guides. He has a Bachelor’s and Master’s degree in Computer Science and has spent much of his professional career in IT management.
He specializes in writing content about iPhones, Android devices, Microsoft Office, and many other popular applications and devices.